Every Easter when I was a kid, my Italian grandmother would make what the family called "Easter Pizza." She would stuff bread dough with layers of hard-boiled eggs, meats, and cheeses, and bake it in the oven until the bread was done. It was our favorite Easter treat.
What we always called "Easter Pizza" is known by many names and there are many different ways to make it. In Naples and Campania, Easter Pie is made with ricotta cheese, eggs, and whole grains of wheat. It's called
pastiera, and the custard-like filling is often flavored with orange-blossom water. Sicilians make a different variety altogether: theirs has pasta, pork, cheese, and eggs. And in Calabria.
pizza rustica is often made with ham, sausage, hard-boiled eggs, mozzarella, and ricotta.
Doing a quick Google search will show you that there are dozens of recipes for this traditional Easter favorite out there, and just about every one of them is different - after all, the ingredients not only vary from region to region within Italy, but even from family to family. My own recipe is as close to my grandmother's as I can recall, but she never wrote it down. Because she passed away so many years ago, when I started making it for my own family I had to reconstruct the recipe from memories of what it tasted like.
Easter Pizza1 recipe bread dough - use your favorite recipe for medium-soft white bread, or you can buy a bag of "pizza dough" from your local supermarket.
1/2 pound sliced
sharp Provolone cheese
1/2 pound thinly-sliced sopressata
1/2 pound thinly-sliced Genoa salami
1 pound Italian fennel sausage, cooked and sliced 1/4-inch thick
1 pound basket cheese (or fresh mozzarella)
5 hard-boiled eggs, halved
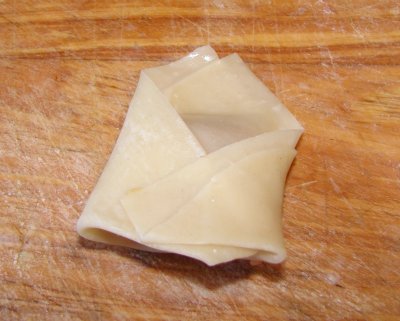
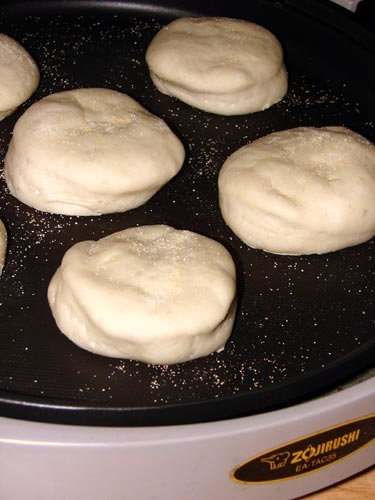
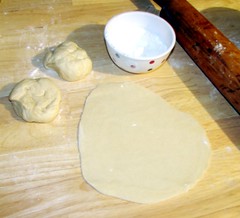
Punch down the dough after the first rising and divide in half. Line a baking sheet with parchment and sprinkle with cornmeal. Roll the first half of the dough out large enough to cover the baking sheet - the dough should be about a quarter of an inch thick.
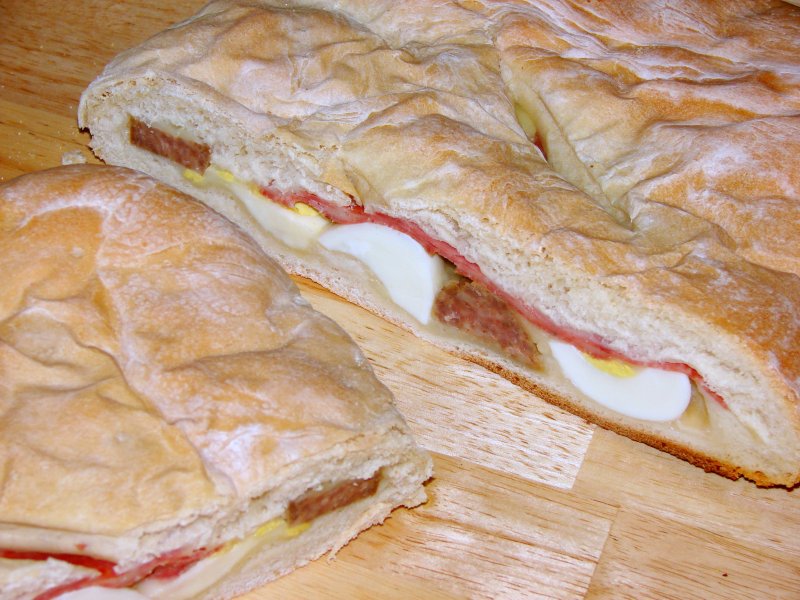
Cover the dough with a layer of sliced Provolone cheese, going to within a quarter-inch of the edges. Next, lay down a layer of the fennel sausage. Crumble the basket cheese and sprinkle a little more than half of it on the sausage. Next, add the hard-boiled eggs. Cover this with slices of sopressata and finally with a generous layer of Genoa salami. Sprinkle this with the remaining basket cheese. If there is any Provolone cheese or salami left over, add them on top of all of this.
Roll out the second half of the dough large enough to cover the pizza and place it over the layers of filling; go around the edges of the pizza and seal it by turning the edges under and pressing with your fingers or a fork. Cut a few slashes in the top and allow the bread to rise for about 20 minutes.
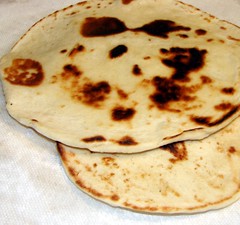
Bake in a 350 F oven for about an hour, or until the crust is golden brown. The hardest part of this recipe is waiting for the pizza to cool slightly before cutting into it.
Notes:

Basket cheese is a soft, fresh cheese that is formed by pressing curds gently in a basket. If you don't have an ethnic Italian population nearby, it can be hard to find. You can substitute soft, fresh mozzarella instead.
Feel free to add slices of prosciutto, capicola, or other Italian hams or sausages to your Easter Pizza. The recipe adapts well to modification.
Need a good, medium-soft white bread recipe to make your Easter Pizza? You can try the one I use:
3 tbsp sugar
1 tbsp yeast
2 1/4 cup warm water
1 tsp salt
2 tbsp shortening
6 1/2 cups flour
Dissolve the sugar and yeast in warm water and set aside to work and get foamy. Combine salt with 2 cups of the flour and cut in the shortening until the mixture is coarse and crumbly. Pour in the proofed yeast mixture and add another two cups of flour, mixing until you get a smooth and very sticky dough. Add another two cups of flour and knead well for 10 to 15 minutes, working in the remaining half cup of flour, until the dough is silky-smooth and elastic. Turn into an oiled bowl, cover with a damp cloth, and allow to rise for about an hour until doubled in bulk. Punch the dough down and divide in two; continue with the Easter Pizza recipe.
Links:The basket cheese I buy - and many of the other Italian cheeses I use in my cooking - is made by a local company, Calabro Cheese Corporation. Their products are top-notch and all natural.
Click here to visit their website and learn more about their extensive line of cheeses and where they are sold.Temptation: Easter Pizza is What You Make of It, New York Times, 31 March 2004.

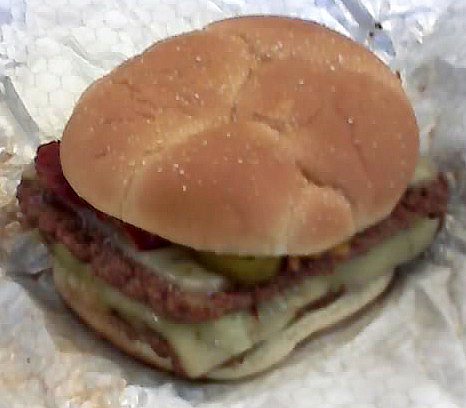
 I kind of like A1 steak sauce - not as much as I used to, before Kraft bought the brand and bulldozed the flavor with their filthy high-fructose corn syrup, but enough that I still keep a bottle around for the occasional lousy cut of meat that needs a flavor kick. So when I saw that Jack Link had introduced a beef jerky variety flavored with A1, I knew I had to try it.